As an artist, you've spent hours creating a masterpiece with acrylic paints. Now that your painting is complete, it's time to protect and enhance it with varnish.

Varnishing is an essential step in preserving and showcasing your acrylic paintings, and it's not as complicated as it may seem. In this blog, we will walk you through the process of varnishing acrylic paintings, so you can ensure your artwork stays vibrant and protected for years to come.
What is Varnish and Why is it Important?
Varnish is a transparent protective coating that is applied to the surface of a painting to shield it from dust, dirt, UV rays, and other environmental factors that can damage the paint. It also adds a glossy or matte finish, depending on your preference, which enhances the colors and depth of your painting, giving it a professional look.
Preservation is KEY! Varnishing is a crucial step in the preservation of acrylic paintings, as acrylic paint is susceptible to fading and discoloration over time due to exposure to light and air. By applying varnish, you create a barrier that helps prevent these issues and prolongs the life of your artwork.
Types of Varnish
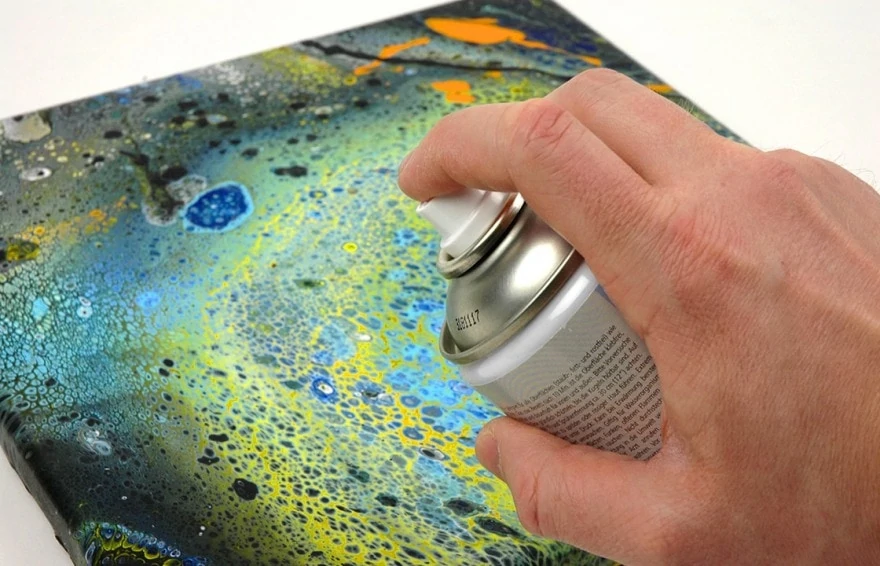
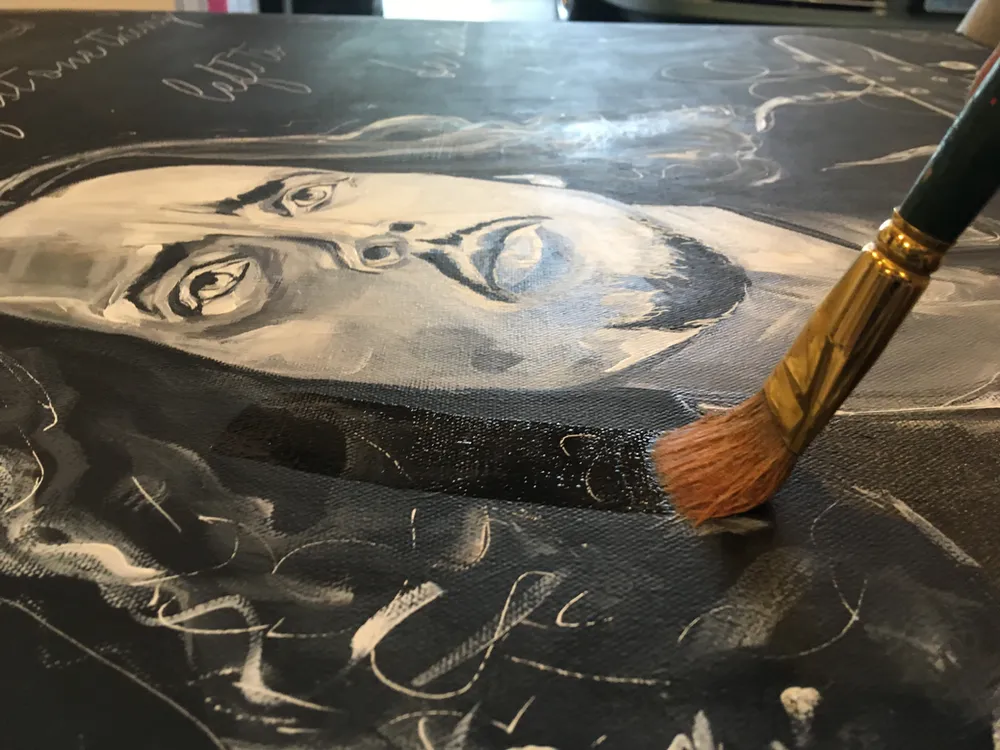
There are two main types of varnish: spray varnish and brush-on varnish. Spray varnish comes in an aerosol can and is easy to apply in thin, even coats. It dries quickly and is ideal for smaller paintings or those with a smooth surface. On the other hand, brush-on varnish is a liquid varnish that is applied with a brush in thin, even strokes. It's perfect for larger paintings or those with a textured surface, as it allows you to control the application more precisely.
Materials You'll Need:
Before you start varnishing your acrylic painting, gather the following materials:
Varnish (either spray or brush-on)
Soft, clean brush or foam brush (for brush-on varnish)
Protective gloves
Well-ventilated area or a spray booth (for spray varnish)
Palette knife or similar tool for stirring varnish
Clean, lint-free cloth
Acrylic painting to be varnished
Step-by-Step Guide to Varnishing Acrylic Paintings
Step 1: Prepare Your Painting
Make sure your painting is completely dry before applying varnish. It's recommended to wait at least 2-3 weeks for your acrylic painting to dry thoroughly. If you varnish your painting while it's still wet, the varnish may trap moisture, which can cause damage to the paint over time.
Step 2: Choose Your Varnish and Test it
Decide whether you want a glossy or matte finish for your painting, and choose the appropriate varnish accordingly. It's a good idea to test the varnish on a small, inconspicuous area of your painting or on a test piece to see how it looks and how it interacts with your painting's surface.
Step 3: Prepare Your Workspace
If you're using spray varnish, make sure you're in a well-ventilated area or a spray booth to avoid inhaling fumes. Lay down a drop cloth or newspaper to protect your work surface. Wear protective gloves to prevent direct contact with the varnish.
Step 4: Apply the Varnish
For Spray Varnish: Hold the can about 12-18 inches away from your painting and apply thin, even coats in a sweeping motion. Be sure to overlap each pass slightly to ensure full coverage. Allow the varnish to dry completely between coats, following the manufacturer's instructions.
For Brush-On Varnish: Stir the varnish gently with a palette knife or similar tool to avoid creating bubbles. Also Read: Varnishing Series - Introduction
Varnishing Oil Paintings Varnishing Watercolour Paintings Shop Acrylic Varnish here. Shop Brushes for Varnish here.


Comentarios